Best Ever No-Knead Peasant Bread & Homemade Butter
No-Knead Peasant Bread & Homemade Butter
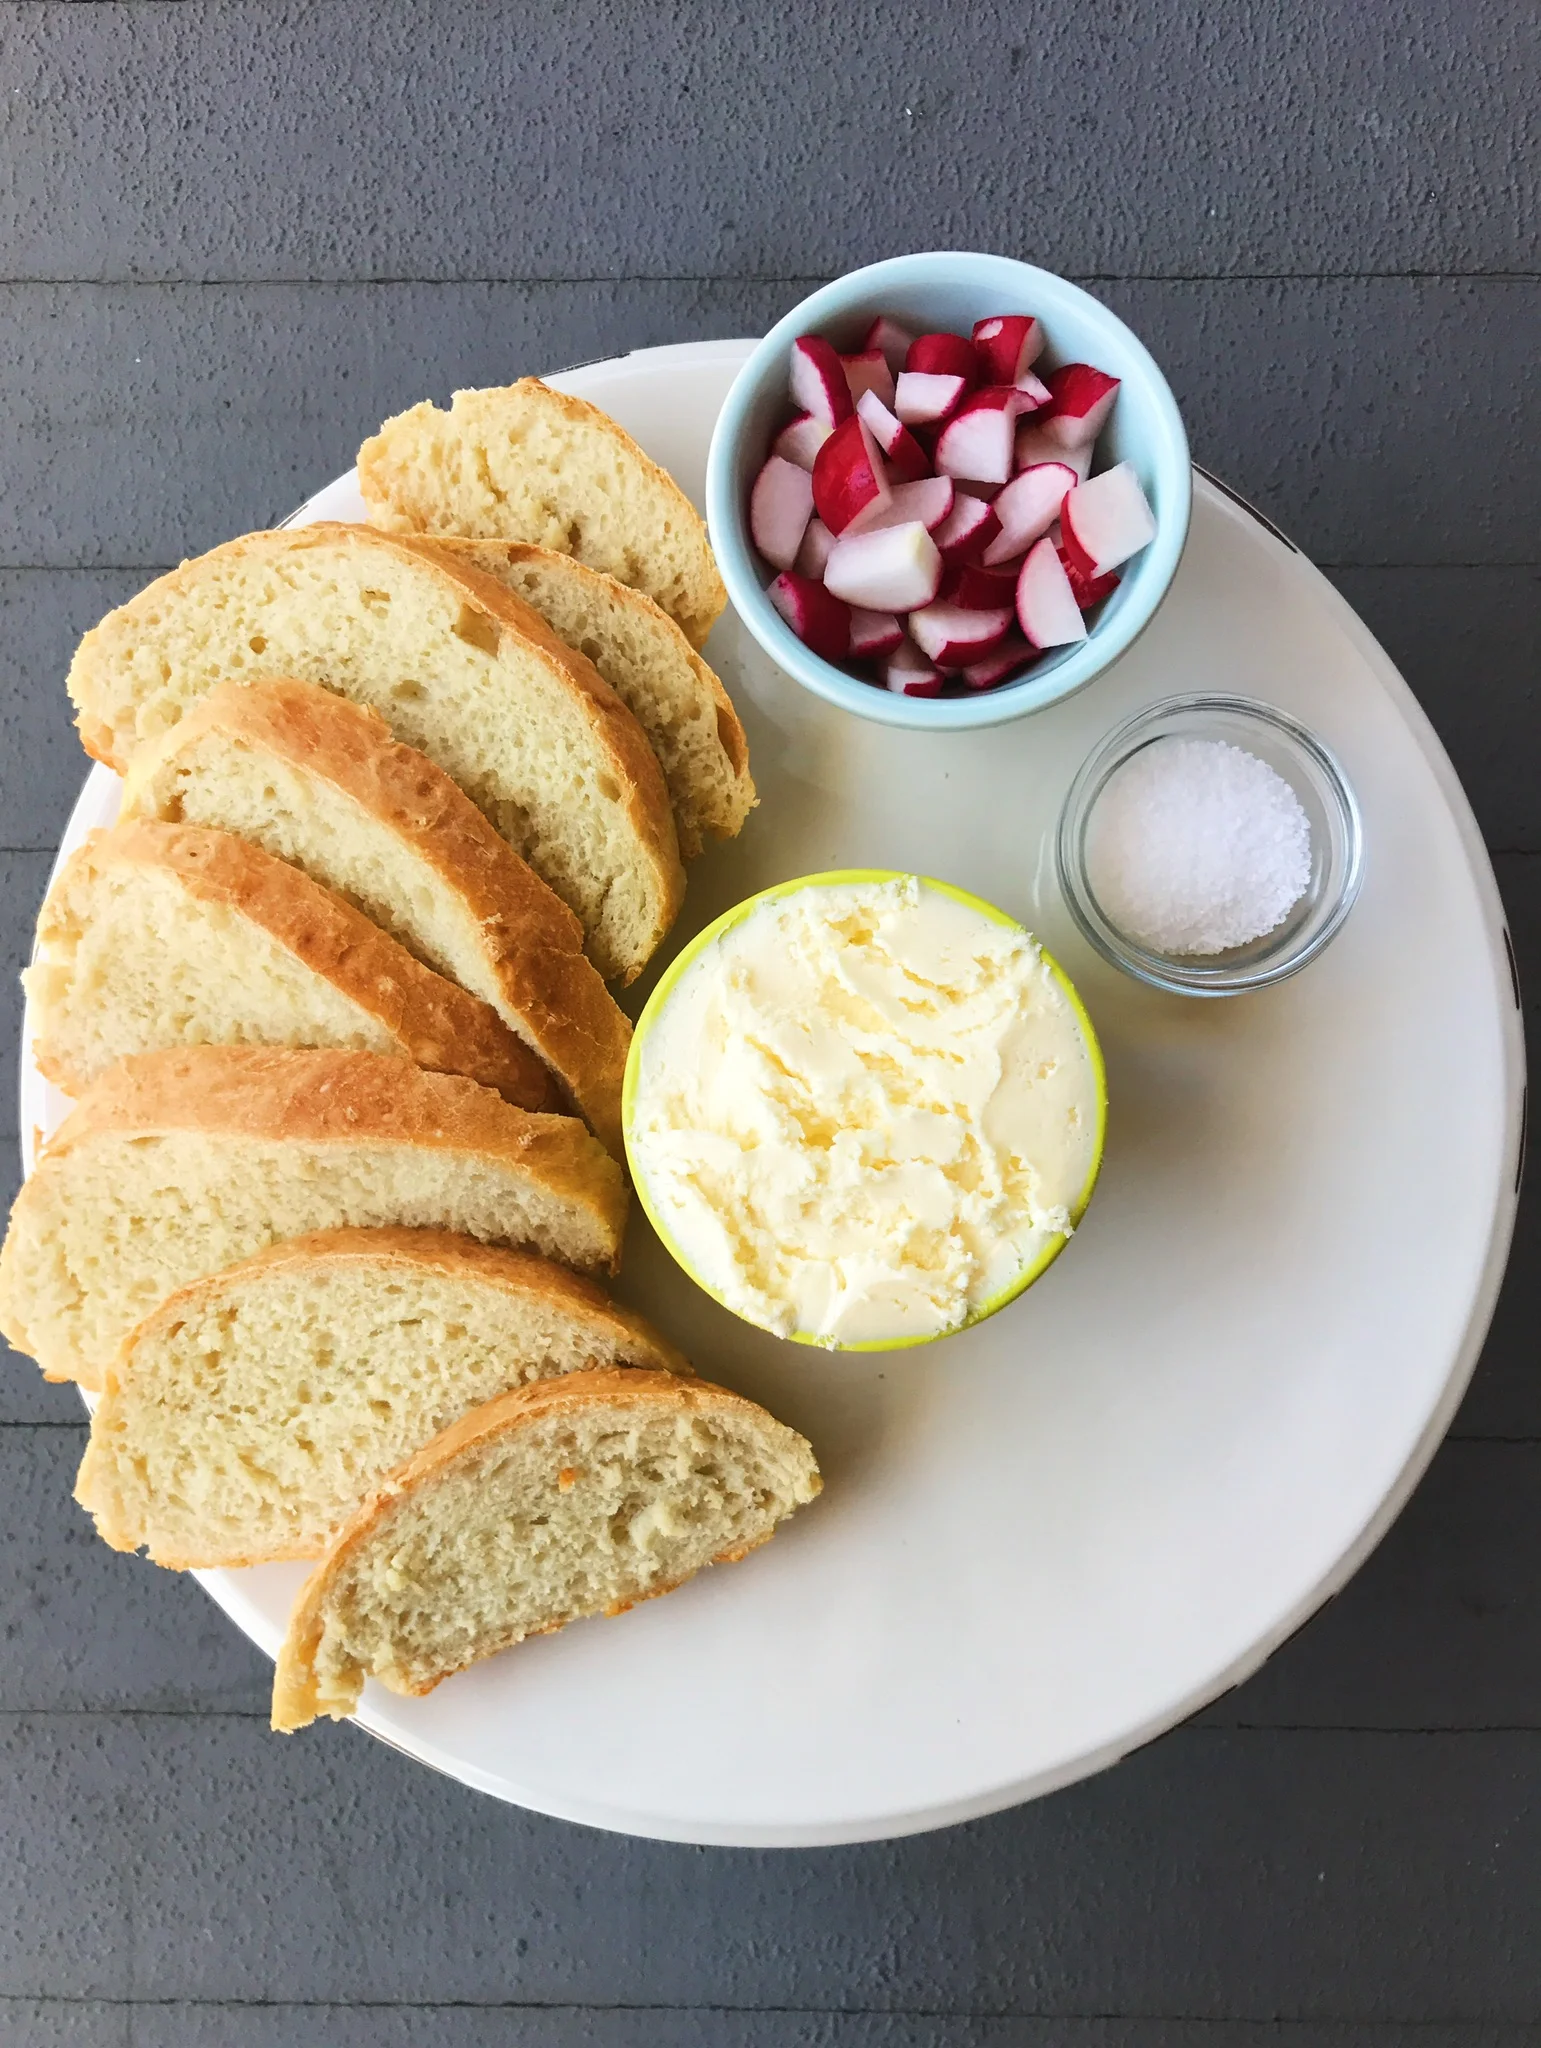
A few months ago, I attended a 'Film to Table' dinner at the ever-packed Good Luck Restaurant in Rochester. Each course was paired with a short documentary, highlighting an individual that is an expert in their field, dedicating their lives to the art of the food they love-- shrimp boating, tapping beehives for honey, the kind of shit that makes you want to spend your entire day learning about sustainable farming and start composting the crop share you're now getting this summer. The first course was bread, butter, pickled vegetables, radishes and salt. While this initially seemed sort of boring (and ok, is this technically a course?), when these things are made well, there is actually nothing better. Suffice it to say, I was nearly sobbing as I was inhaling an entire loaf, watching a man talk about how buttering freshly baked bread from his wood burning oven was his truest joy in the world. I'm with him.
| Amanda

Alexandra Stafford's No-Knead Peasant Bread
Yield - 2 loaves
4 cups unbleached all-purpose flour
2 tsps. kosher salt
2 tsps. sugar
2 1/4 tsps. instant yeast
2 cups lukewarm water, made by mixing 1/2 cup boiling water with 1 1/2 cups cold water
Softened unsalted butter, for greasing
In a large bowl, whisk together the flour, salt, sugar, and instant yeast. Add the water. Using a rubber spatula, mix until the water is absorbed and the ingredients form a sticky dough ball. (If you need to use active dry yeast instead, proof it in the lukewarm water first for about 10 minutes, until foamy, before adding to the other ingredients.)
Cover the bowl with a damp tea towel or plastic wrap and set aside in a warm spot to rise for 1 to 1 1/2 hours, until the dough has doubled in bulk. Note: Here's a trick for making the perfect warm spot for the dough to rise. Set the oven to 400° F and let it preheat for 1 minute, then shut it off. The temperature will be between 80° F and 100° F. you should be able to place your hands (carefully) on the oven grates without burning them.
Set a rack in the middle of the oven and preheat it to 425° F. Grease two 1-quart oven-safe bowls, like Pyrex (see note below), with softened butter—be generous. Using two forks, deflate the dough by releasing it from the sides of the bowl and pulling it toward the center. Rotate the bowl quarter turns as you deflate, turning the mass into a rough ball.
Using your two forks and working from the center out, separate the dough into two equal pieces. Use the forks to lift each half of the dough into a prepared bowl. If the dough is too wet to transfer with forks, lightly grease your hands with butter or oil, then transfer half to a bowl. (If your dough drops and breaks apart on the transfer, don't worry, just divvy the dough between the bowls and it will come back together as it rises.) Do not cover the bowls. Let the dough rise on the countertop near the oven (or another warm, draft-free spot) for 10 to 20 minutes, until the top of the dough just crowns the rims of the bowls.
Transfer the bowls to the oven and bake for 15 minutes. Reduce the heat to 375° F and bake for 17 to 20 minutes more, until evenly golden all around. Remove the bowls from the oven and turn the loaves out onto cooling racks. If the loaves look pale, return them to their bowls and bake for 5 minutes longer. Let the loaves cool for 15 minutes before cutting.
Note: we didn't have two 1-quart bowls, so we just used various glass mixing bowls, and scaled our bowls to fit. You can use loaf pans as well.
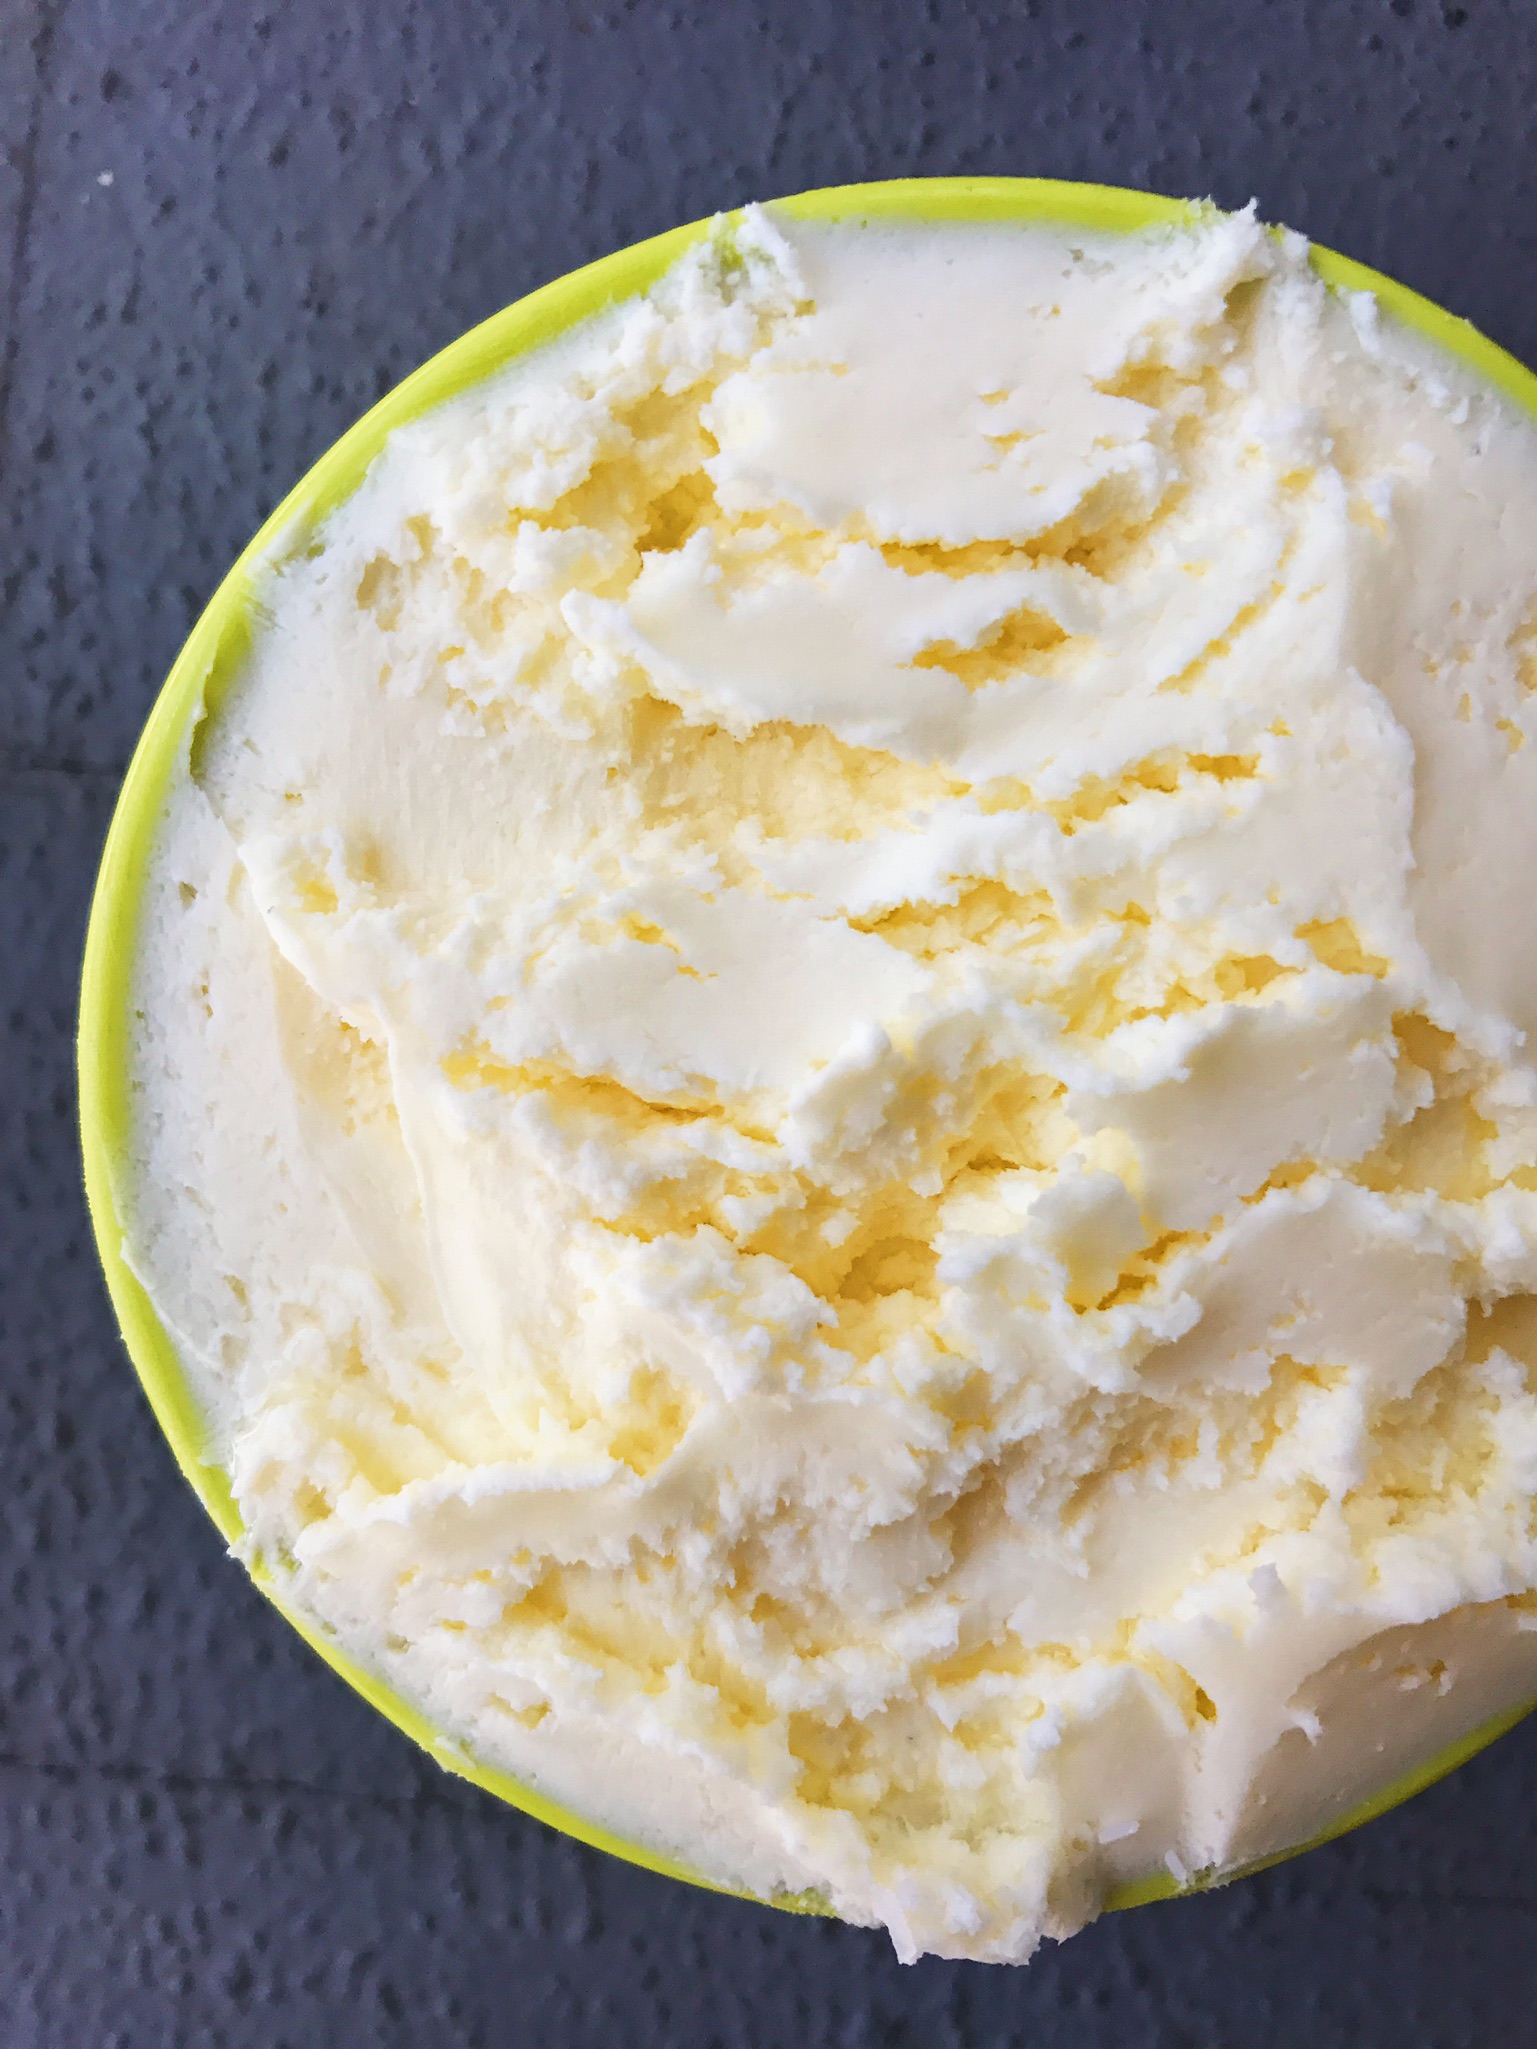
Homemade Butter
Yield - 1 cup butter
1 pint (2 cups) heavy cream, preferably organic, not ultra-pasturized
1/4 tsp. kosher salt
Bring cream to room temperature, leaving out for at least 1 hour. Add cream to blender or food processor, pulse butter on low. You will see cream turn to whipped cream state. Continue. Butter will begin to separate from liquid. This can take anywhere from 2-10 minutes depending on what you're using. Pour off the liquid (this is buttermilk! If you want to use it, you will have to follow these steps). Keeping the butter in the blender or processor, add enough water to cover the butter. Pulse. Pour water off and repeat, until the liquid becomes completely clear (this only took us two times.) Doing this helps "wash" the better, taking the buttermilk off entirely, so it will stay fresh longer. Add salt and pulse briefly. Spread all over everything. This will keep in the fridge for several weeks, up to 3 months in the freezer.